Start with the idea the clothes should express
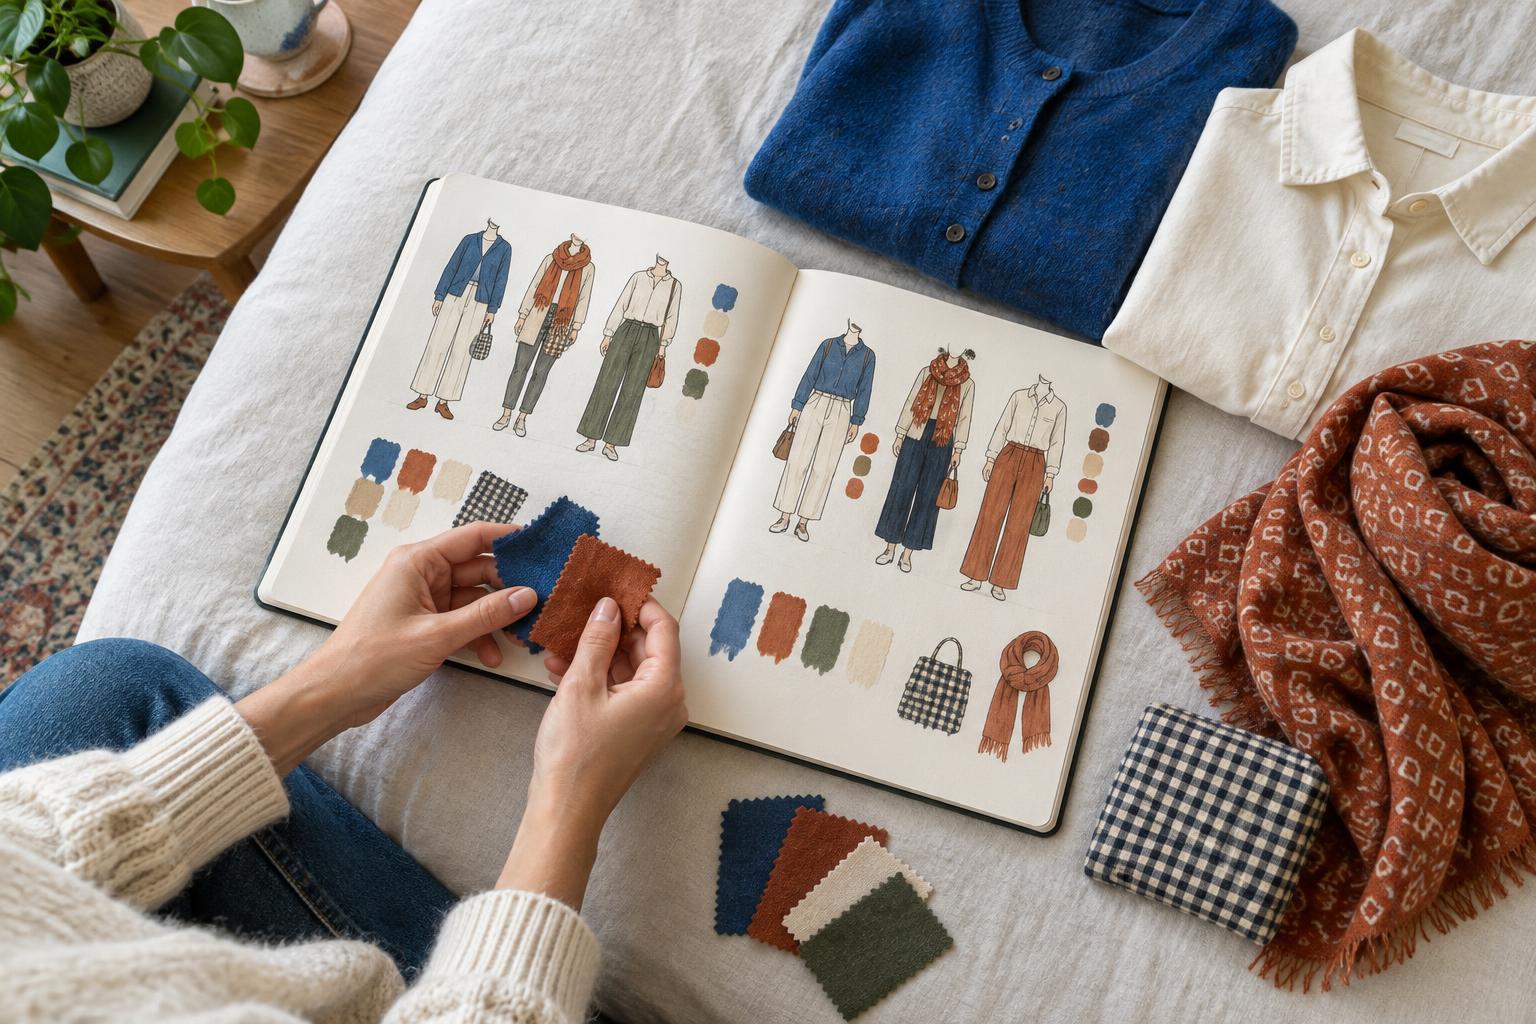
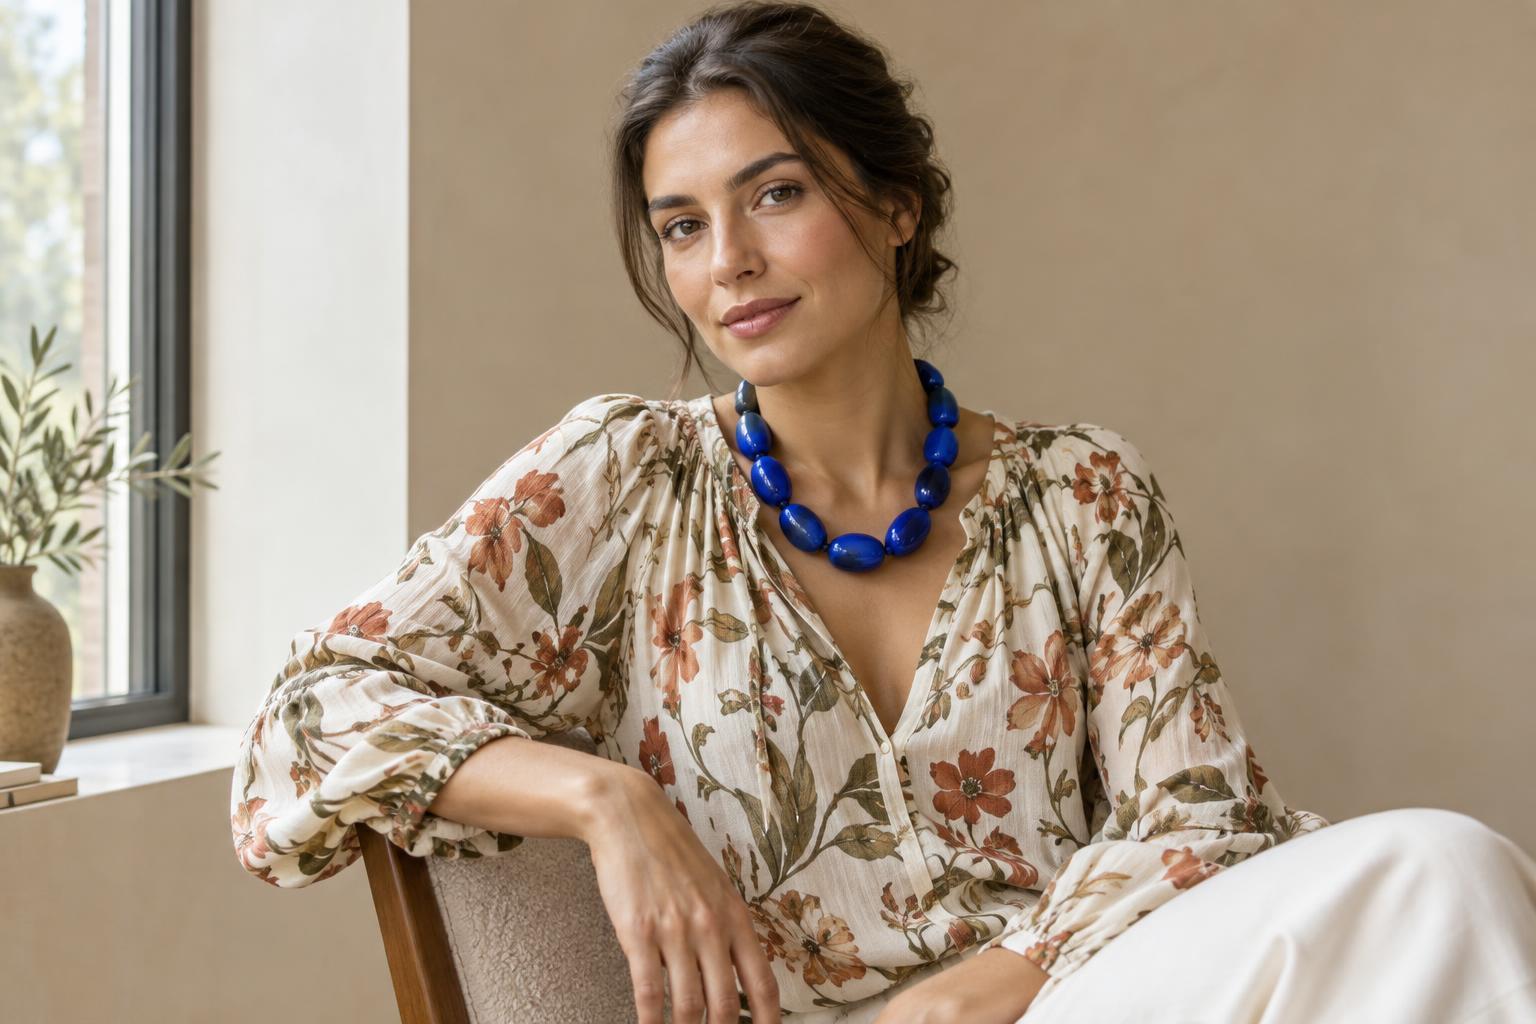
A clothing photo project can be as small as one outfit and a few photographs. Before deciding where to stand or how to pose, write one sentence about what you want the images to convey. You might want to show how a structured jacket makes an everyday outfit feel deliberate, or how a bright scarf changes the mood of otherwise quiet clothes. That sentence gives you a reason to choose each frame.
Keep the idea specific enough to guide decisions but open enough to allow discovery. “Show the contrast between a soft skirt and heavy boots” is easier to photograph than “capture my style.” If you have several outfits, decide whether they tell one connected story or deserve separate mini-projects. A shot list works best when it serves a clear purpose rather than trying to record every item you own.
Build a short sequence of complementary shots
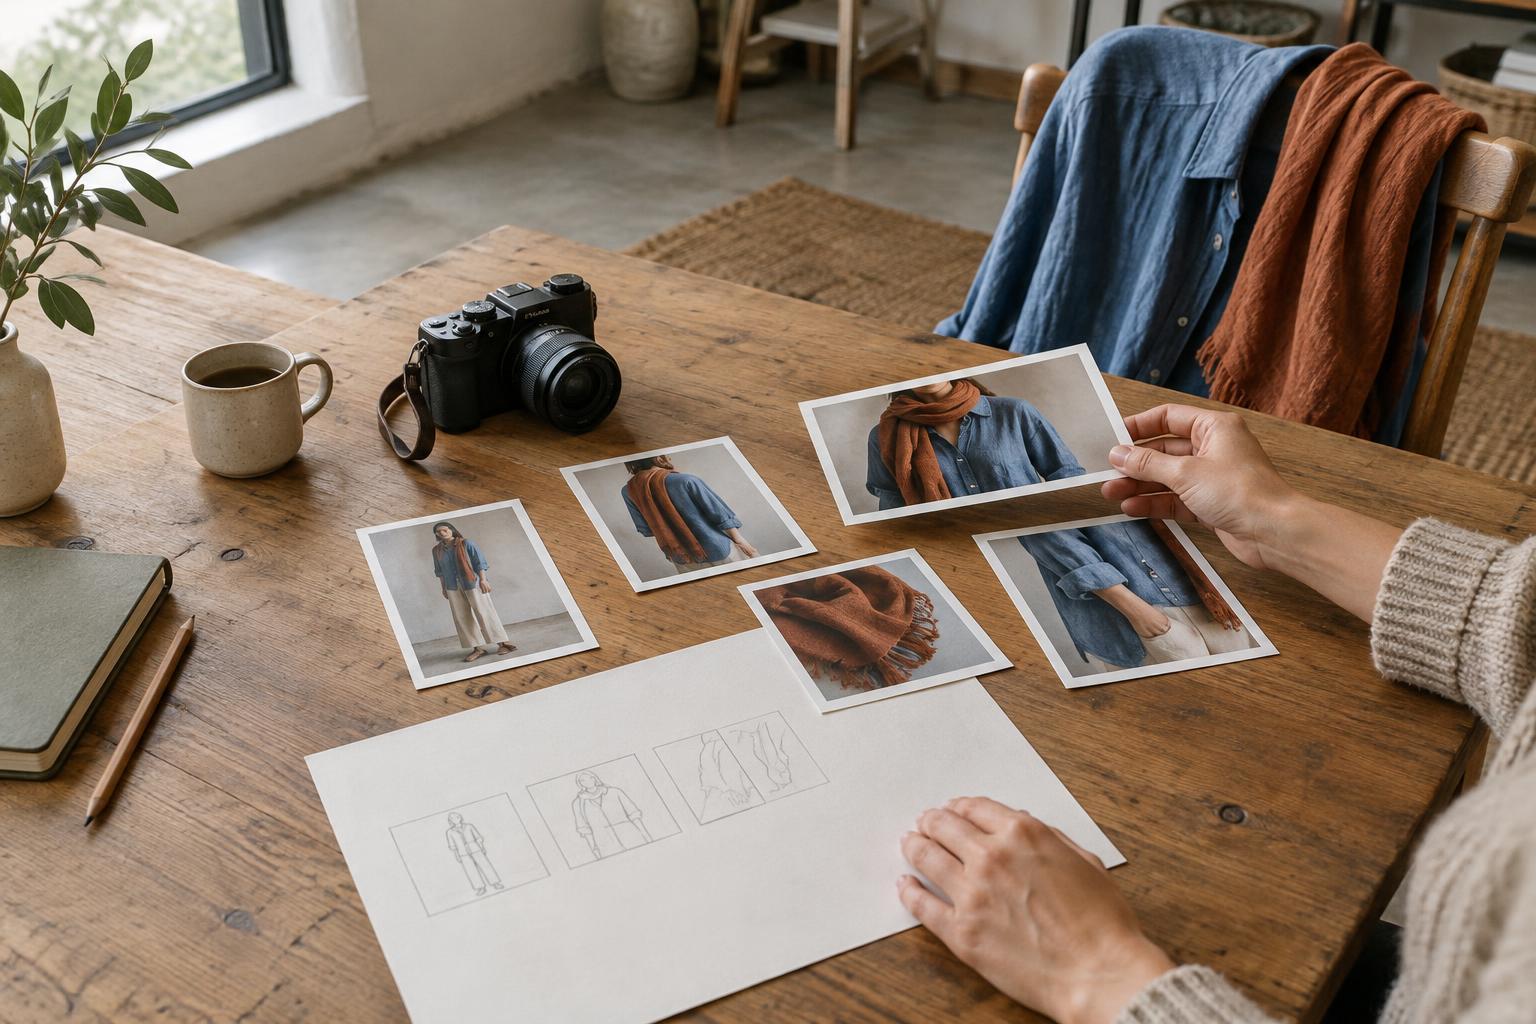
Think of your shot list as a sequence that helps someone understand the outfit. Begin with a full-length frame that shows the overall silhouette. Add a mid-length frame to bring the viewer closer to the relationship between pieces, such as a shirt tucked into trousers or a coat layered over a dress. Then choose a close-up of one detail that carries the idea: a cuff, a pin, a patterned lining, or the way two textures meet.
A useful starting list might read: full outfit against a plain wall; seated view showing how the fabric falls; close-up of the scarf knot; side view showing the jacket shape; and one frame of the outfit in motion. These are prompts, not requirements. If two shots communicate the same thing, keep the stronger one and make space for something different.
Include a little variety in distance and angle, but resist adding shots simply to make the list longer. Ask what each image contributes. Does it reveal shape, colour, texture, movement, or context? A small set of distinct images will often tell a clearer story than many near-duplicates.
Note what each shot needs
Beside each shot, jot down practical details that will be easy to forget while taking pictures. Note whether the frame should be vertical or horizontal, which garment feature must remain visible, and whether you want the person still or moving. For a close-up, specify the detail rather than writing only “accessory shot.” “Hands adjusting the patterned cuff” gives you something concrete to try.
Consider the setting as part of the story. A simple background can keep attention on colour and silhouette, while a more textured setting may echo the outfit’s mood. Check for distracting objects at the edges of the frame. If you are photographing in a shared or public space, be considerate of other people and avoid making them an unintended part of your images.
Light deserves a brief note too. You do not need specialized equipment to plan for it: identify a place where the outfit is easy to see without harsh shadows obscuring its details. If you are using a phone, take a quick test image and check whether the colours and textures remain legible. Adjust your position or background before working through the whole list.
Plan for continuity without making everything identical
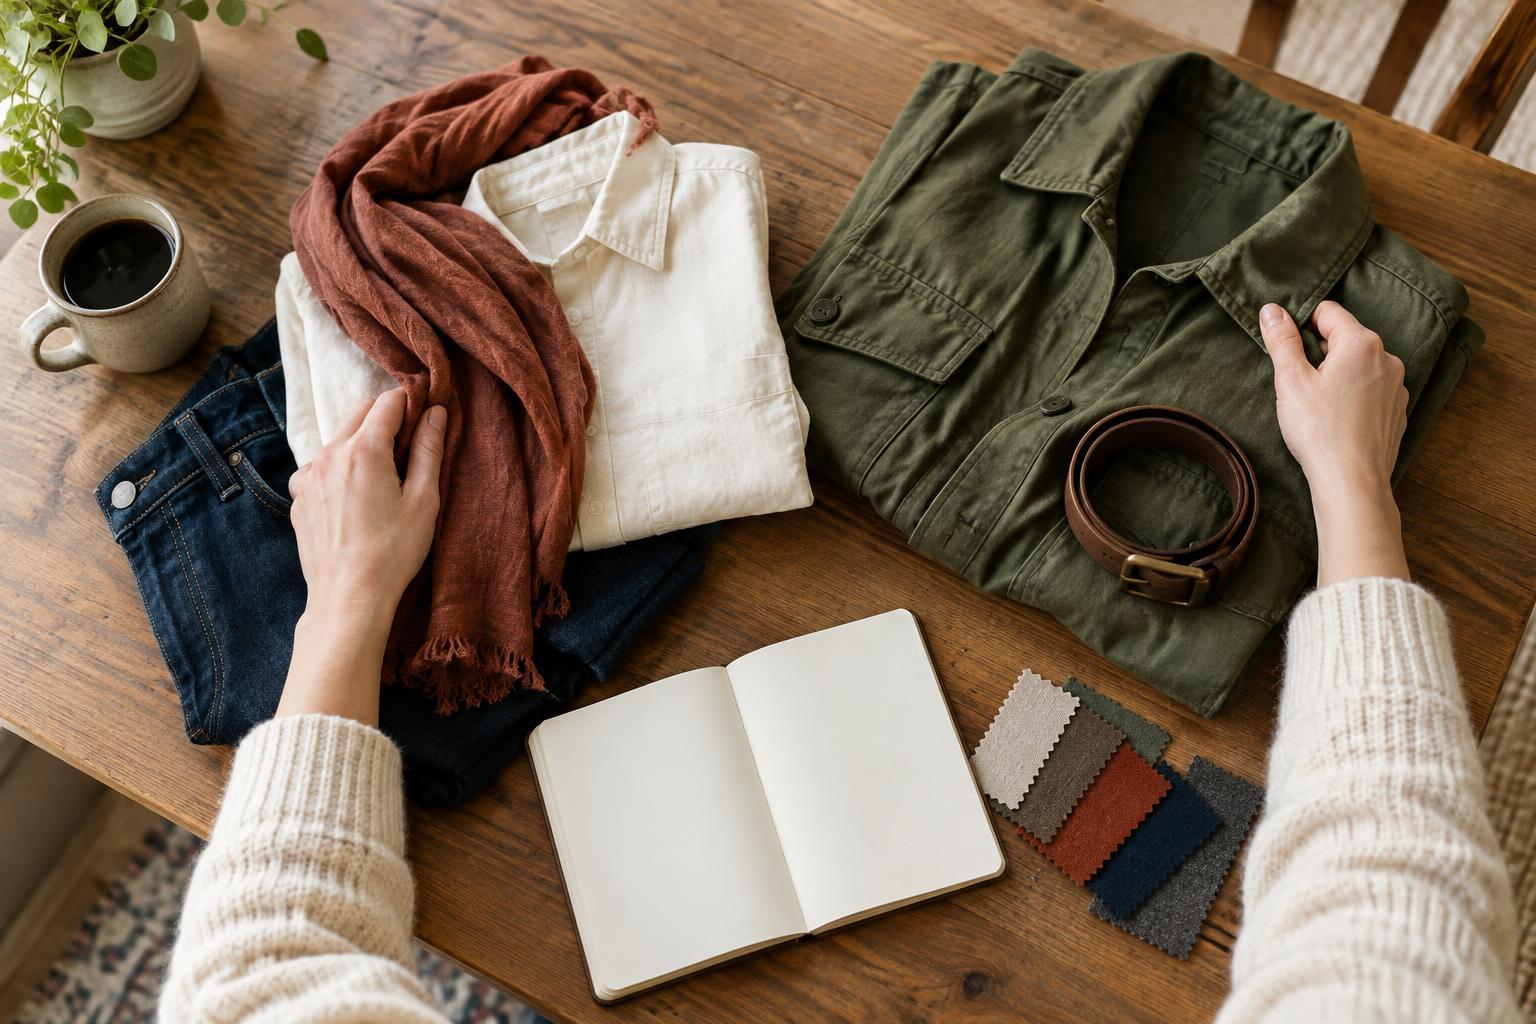
When the pictures are viewed together, repeated visual choices can help them feel connected. You might keep the same scarf in every frame, use one background colour, or return to a similar pose at different distances. Decide which elements should stay consistent and write them at the top of your shot list. This is especially helpful if you pause between outfits or photograph on more than one occasion.
Continuity does not mean every image needs the same composition. A full-length shot can establish the outfit, while a detail frame changes the pace and invites closer attention. Check that small changes do not create confusion: a coat worn open in one picture and closed in another may be useful if you want to show both shapes, but an accidental change in styling may distract from your intended story.
Use the list as a guide, then review what you made
Work through your planned shots, checking each image briefly before moving on. Look for the feature the shot was meant to show. If the trouser shape disappears because of the angle, change your position. If the accessory blends into the background, try a different surface or move closer. These small checks can save you from finishing with several images that miss the point.
Leave room for an unplanned frame when you notice something appealing, such as fabric moving in a breeze or an unexpected colour pairing in the background. Afterward, select images by asking whether each one adds a new piece of information to the story. Your final set may not match the list exactly. The shot list has done its job if it helped you begin with intention and notice what the clothing communicates in pictures.