Start with a careful inspection
An accessory can carry a surprising amount of personal meaning. The bag you reach for every morning or the necklace that finishes a simple outfit may be worth keeping even when one part begins to fail. Before deciding to repair it, find out what is actually wrong. Set the item on a clear surface in good light, empty any pockets, and look at both the damaged area and the parts connected to it.
Ask three questions: Does the part still work? Is it securely attached? Could it fail while I am wearing or carrying the item? A scratch on a buckle is different from a buckle that opens under light pressure. If you notice several weak points at once, repairing only the most visible one may not make the accessory reliable. Take a photo of the trouble spot so you can compare it later or show it to a repairer.
Test clasps without forcing them
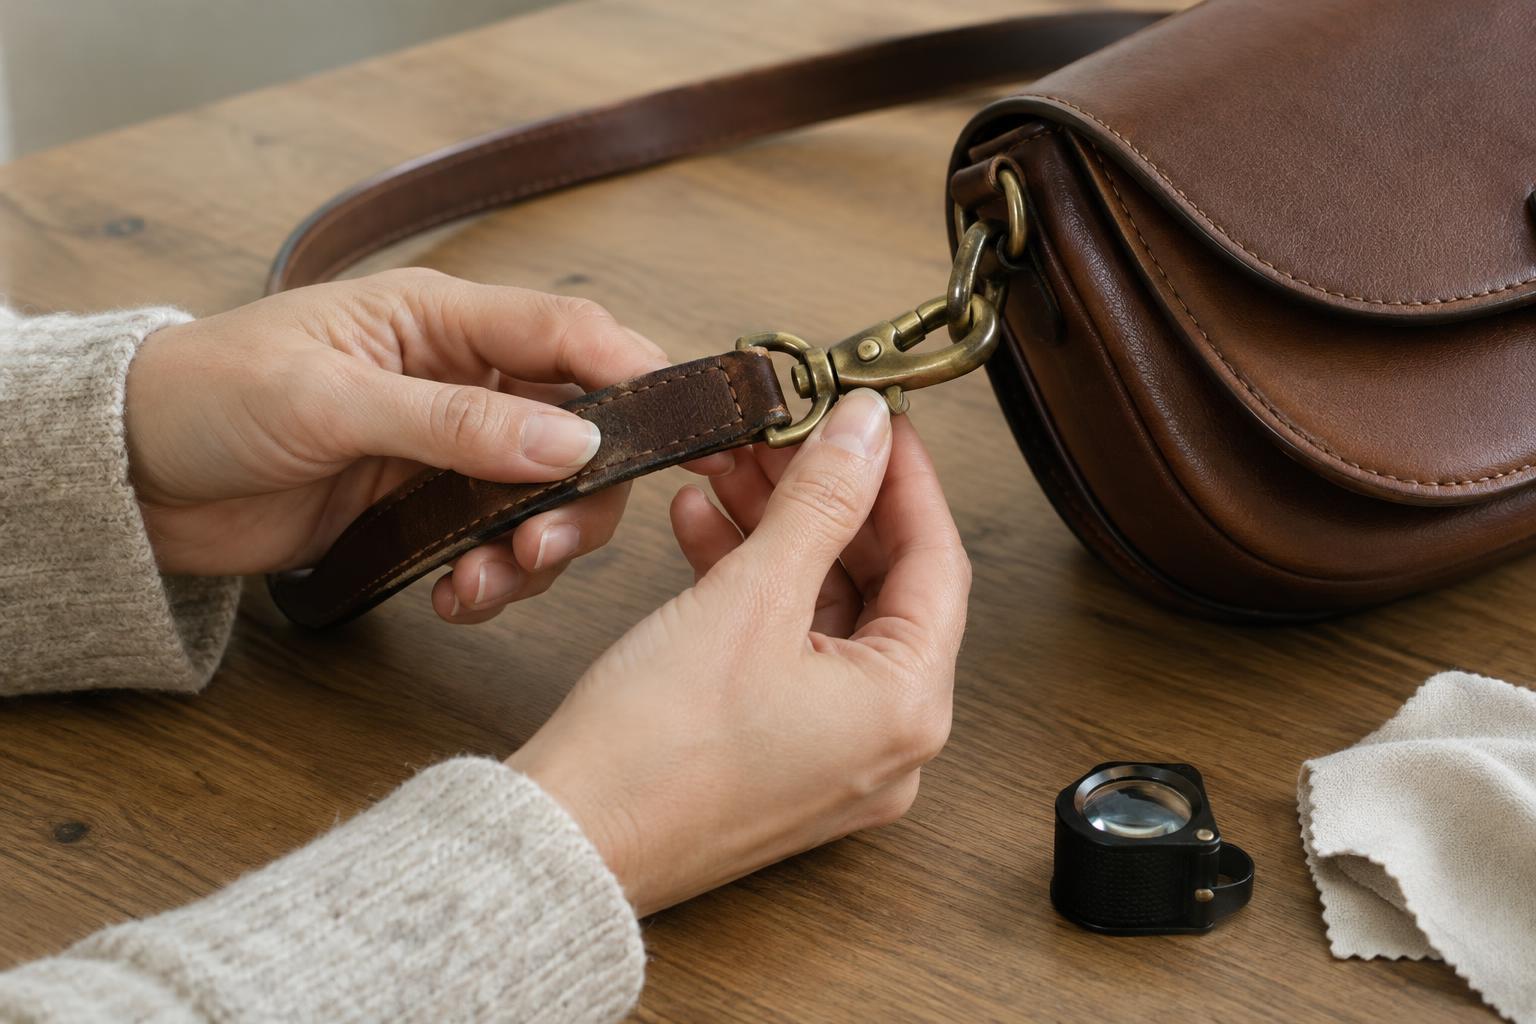
Clasps on necklaces, bracelets and bags should close fully and stay closed during gentle movement. Open and shut a clasp a few times, watching for a gate that sticks, a spring that no longer returns, or a gap where the two sides meet. Check the ring or loop it attaches to as well; a sound clasp cannot help much if its connecting ring is opening.
A little trapped lint may be easy to remove with a soft, dry brush. If a clasp remains loose, bent or unreliable, replacing that small component is often more useful than trying to bend it repeatedly into shape. For jewelry with delicate links, stones or sentimental value, consider asking a skilled repairer to make the change. Stop using the piece in the meantime, especially if losing it would be upsetting.
Look beyond the surface of straps
Straps work hard because they carry weight and flex in the same places again and again. On a bag, check the attachment points first: stitching, rivets, loops and the material around them. On a belt, inspect the holes and the area where the buckle joins the strap. Pull gently, rather than sharply, to see whether a seam separates or a fitting shifts. Fraying edges may be largely cosmetic, but torn stitching or material that is splitting near a load-bearing point needs attention.
Think about how you use the accessory. A bag strap that holds when the bag is empty may not be dependable with your usual contents inside. If the strap itself is sound but its stitching has come loose, restitching may be possible. If the surrounding material is thin or cracked, simply sewing through it again may not hold. A replacement strap can also be an intentional style choice: match the original for continuity, or choose a contrasting colour or texture that feels like you.
Check hardware and the material around it
Buckles, rings, rivets and zipper pulls can make an accessory feel distinctive, but they also reveal wear. Look for sharp edges, corrosion, bent pieces and fittings that rotate or pull away when they should stay fixed. Run a finger near, not across, a suspect edge to avoid a scrape. For a zipper, check whether the pull is the only damaged part or whether the teeth and surrounding fabric are also failing.
Hardware does not exist on its own. A new rivet set into weakened fabric, for example, may work loose again. Decide whether a fix addresses the cause or only hides the symptom. Avoid using strong glue as a quick substitute for a structural fastening: it may not withstand movement and can leave residue that complicates a later repair. If a fitting supports significant weight or sits close to delicate material, a repair shop may be the better place to assess it.
Choose a repair that suits the piece
A useful decision is not simply “repair or discard.” You might clean a working clasp, replace a broken connector, have a strap restitched, change worn hardware, or retire an accessory from everyday use while keeping it for another purpose. Compare the likely repair with how often you use the piece and what you value about it. A distinctive buckle or a well-worn colour may be exactly what makes it worth saving.
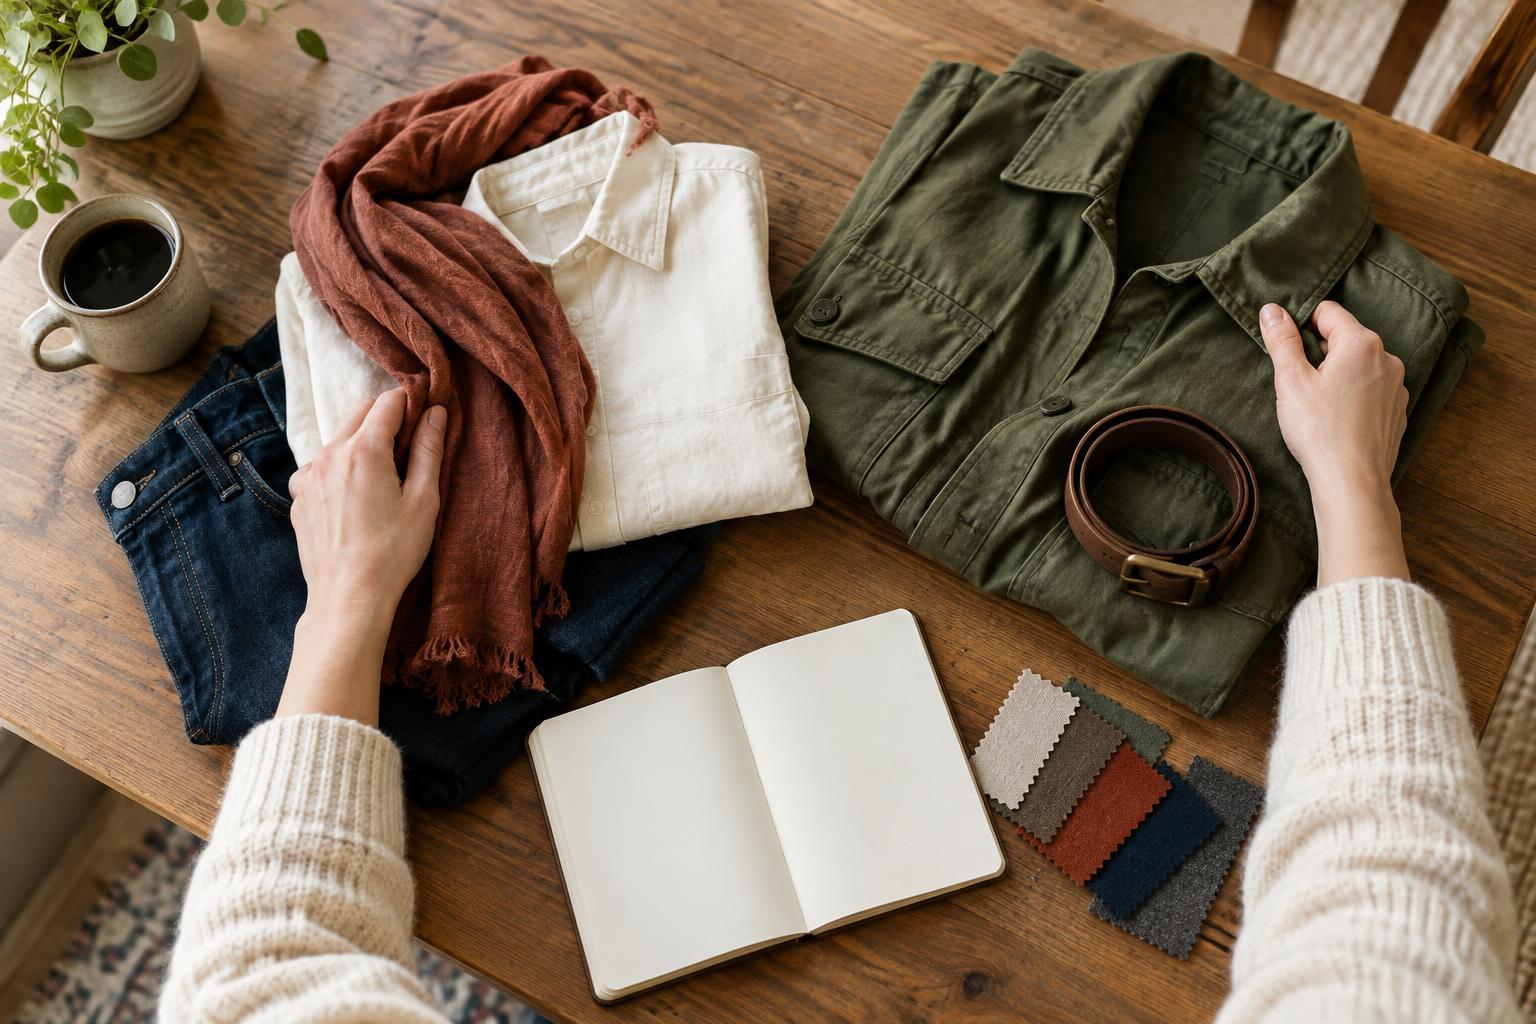
For a quick wardrobe exercise, inspect three accessories you regularly wear. Note one working detail, one sign of wear and the next action for each: keep using, monitor, repair or stop using until fixed. This small check helps prevent a minor fault from becoming a lost accessory. It also gives you a chance to preserve the details that express your style, rather than replacing a piece before you understand what it needs.